Loading Port:Shanghai
Payment Terms:TT OR LC
Min Order Qty:500 m²
Supply Capability:80000 m²/month
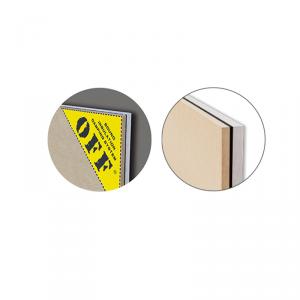
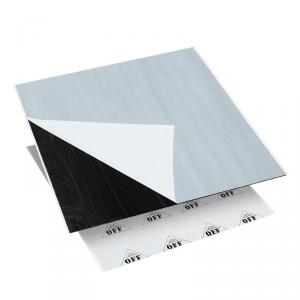
Specifications
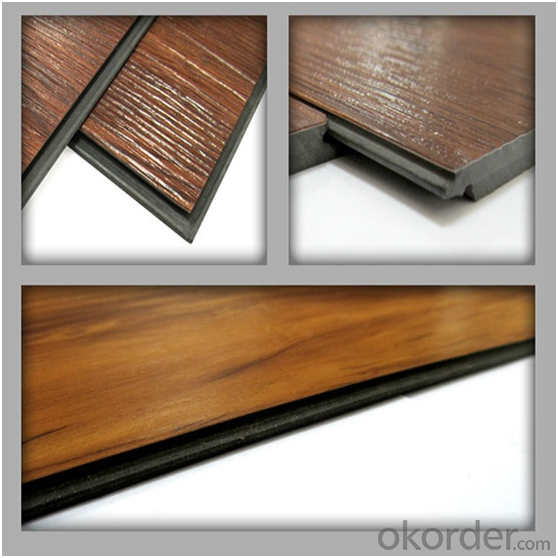
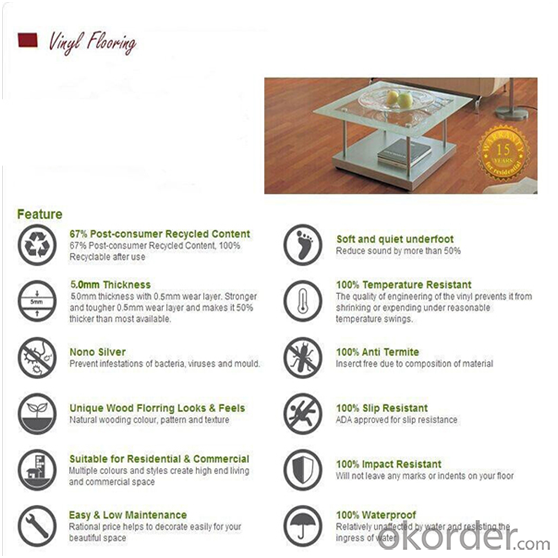
W/L: 0.5mm
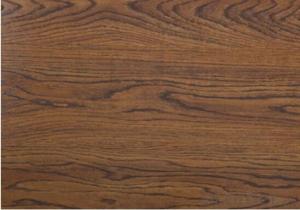
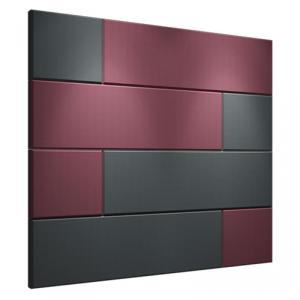
Surface: Crystal Texture
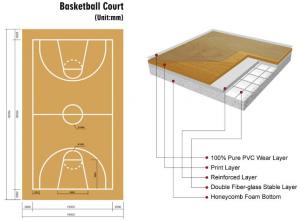
Vinyl Plank
UV matt
Size: 1227*157*3.0mm
Why Choose Us
1. 15-Year professional experience in CNBM Flooring.
2. The Fastest Delivery Speed
3. Excellent After-sales Service
Technical Data
Safety Criteria | Standard | Value |
Flammability | EN 13501-1 | Bf1 |
Slip resistance | EN13893 | DS |
Formldehyde Emission | EN717-1 | None |
Color Fastness | ISO 105-BO2 | ≥ 6 |
Castor Wheel Test | EN425 | Pass |
Our Serivce
1. Various Designs & Complete Finish
Chic Vinyl serves customers with the widest range of PVC flooring on Dimensions, Surface Types,
Color Patterns etc
2. OEM Production: We got a rich experience in OEM production.
3. Strict Quality Control System & Sunspeed Laboratory
We make sure every plank from Sunspeed is perfect in every aspect.
4. FlexiblePayment Terms
In order to support clients requirement and cooperation, we have flexible payment terms,
we accept the T/T, L/C, DP,DA etc.
5.Fast delivery time
Based on our large supply capacity, we can delivery the goods as customers’ requirement. Usually, we will spend 15-20 work days once we confirm the order.
6. Mature Aftersale and Feedback System
Our mature system will guarantee the best quality of flooring after sales.
Advantages:
1. With Unilin patent click design, esay for installation
2. Economic choose for Residential and Commercial.
3. Waterproof,anti-corrosion, anti-crack, anti-mould, anti-aging, long lifetime.
4. Eco-friendly, low carbon with no noxious or chemical components.
5. More than 10 years of warranty,recycled for reusage.
Instrctions:
1.Remove the floor trim fromt he perimeter of the floor with your hammer and prybar. Don't break it. Set it aside.
2. Lay the first row of this vinyl tiles alongside your starting wall, locking them together at the ends. Put shims between the tiles and the wall, to create a space that will allow for floor expansion. Lay all the full tiles that will fit.
3. Measure the space at the end of the first row of tiles. Use your utility knife to cut a tile to size, running the knife alongside a straight-edge to score it, and then snapping the tile. Lay it with the cut side facing the wall.
4. Lay the next courses of tiles alongside the first building out in courses. Start each course at the opposite end of the room as the previous course, so the ends of the tiles don't line up between courses. Lock the tiles together by their long edges,pushing them in at a downward angle, locking then, then dropping then into space. Cut the ends as necessary.
5. Cover the whole floor. Cut the final course of tiles length-wise, so they fit against the wall with a small gap there(about 1/4 inch).
6. Nail the floor trim back in place, using your hammer and finish nails, to seal off the spaces by the walls. Nail toe trim into the walls and not through the flooring.