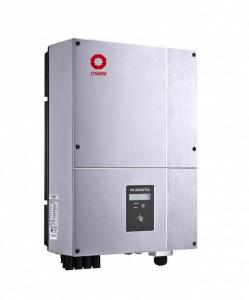
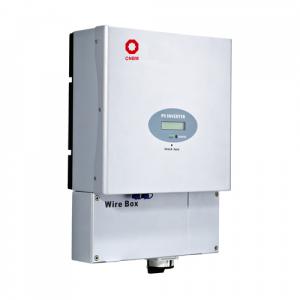
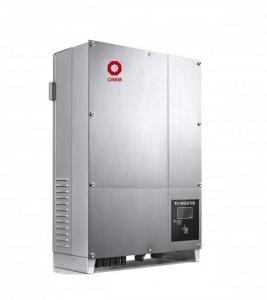
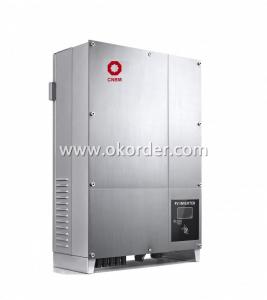
Loading Port:Qingdao
Payment Terms:TT OR LC
Min Order Qty:100 unit
Supply Capability:10000 unit/month
To ensure the BDM-300X2 is not disconnected from the PV modules under load, adhere to the following disconnection steps in the order shown:
1. Disconnect the AC by opening the branch circuit breaker.
2. Disconnect the first AC connector in the branch circuit.
3. Cover the module with an opaque cover.
4. Using a DC current probe, verify there is no current flowing in the DC wires between the PV module and the BDM-300X2.
5. Care should be taken when measuring DC currents, most clamp-on meters must be zeroed first and tend to drift with time.
6. Disconnect the PV module DC wire connectors from the BDM-300X2.
7. Remove the BDM-300X2 from the PV array racking.
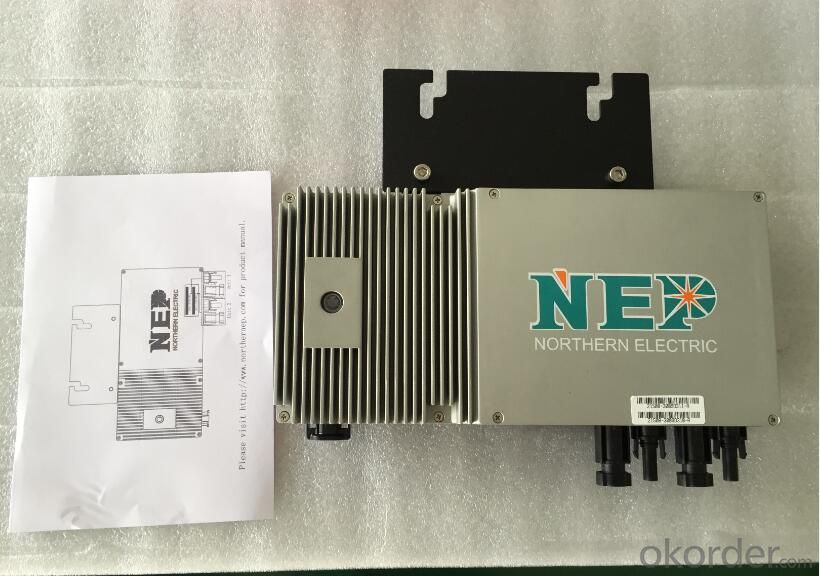
Installing a replacement BDM-300X2
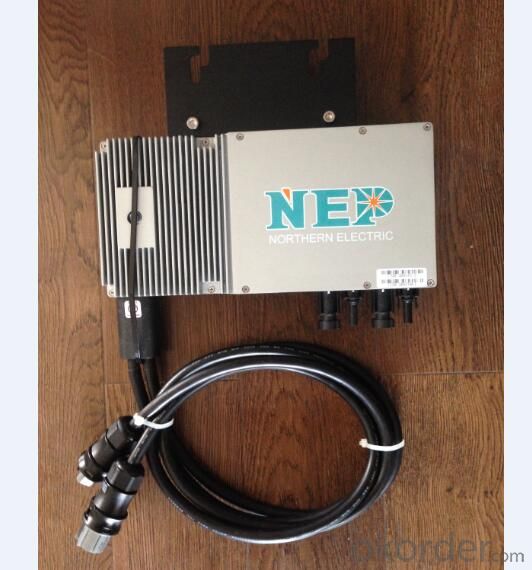
1. Attach the replacement BDM-300X2 to the PV module racking using hardware recommended by your module racking vendor
2. Connect the AC cable of the replacement BDM-300X2 and the neighboring BDM-300X2 to complete the branch circuit connections.
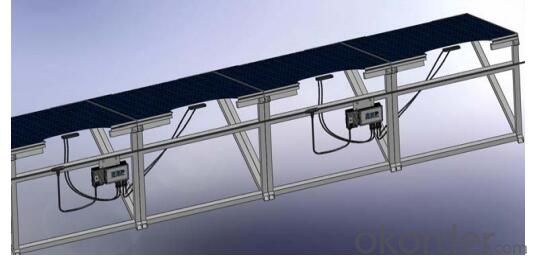
3. Complete the connection map and connect the PV Modules.
1) Complete the connection map
2) Each BDM-300X2 has a removable serial number located on the mounting plate. Enter this serial number into a BDG-256, and correspond it to a number in the connection map.
3) Connect the PV Modules
4) Completely install all BDM-300X2 and all system inter-wiring connections prior to installing the PV modules.
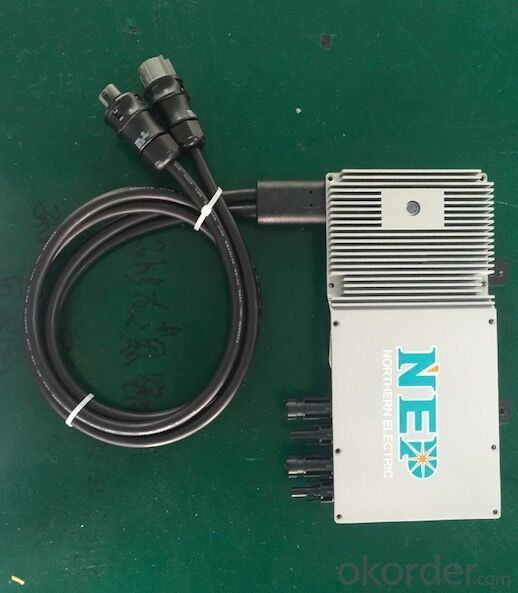
a) Mount the PV modules above their corresponding BDM-300X2. Each BDM-300X2 comes with two oppositely sexed DC connectors.
b) First connect the positive DC wire from the PV module to the negatively marked DC connector (male pin) of the BDM-300X2. Then connect the negative DC wire from the PV module to the positively marked DC connector (female socket) of the BDM-300X2. Repeat for all remaining PV modules using one BDM-300X2 for each module.
| |